From a design to a tool that can strike coins
A finished coin may look like a small piece of artwork, but its design must also survive the pressure of minting. Before a coin can be struck, its artwork is adapted into tools that will press the design into metal blanks. Two important tools in that chain are hubs and dies. A hub is used to transfer a design to another tool; a working die is the tool that strikes coins.
The starting point may be a drawing, a sculpted model or a digital design. The design must account for the coin’s size and the height of its relief: the parts that rise above the flat background, or field. Lettering and fine details must remain legible at the intended scale. How mints prepare a design has changed over time, so there is no single sequence of equipment used for every coin.
Why the design alternates between raised and recessed
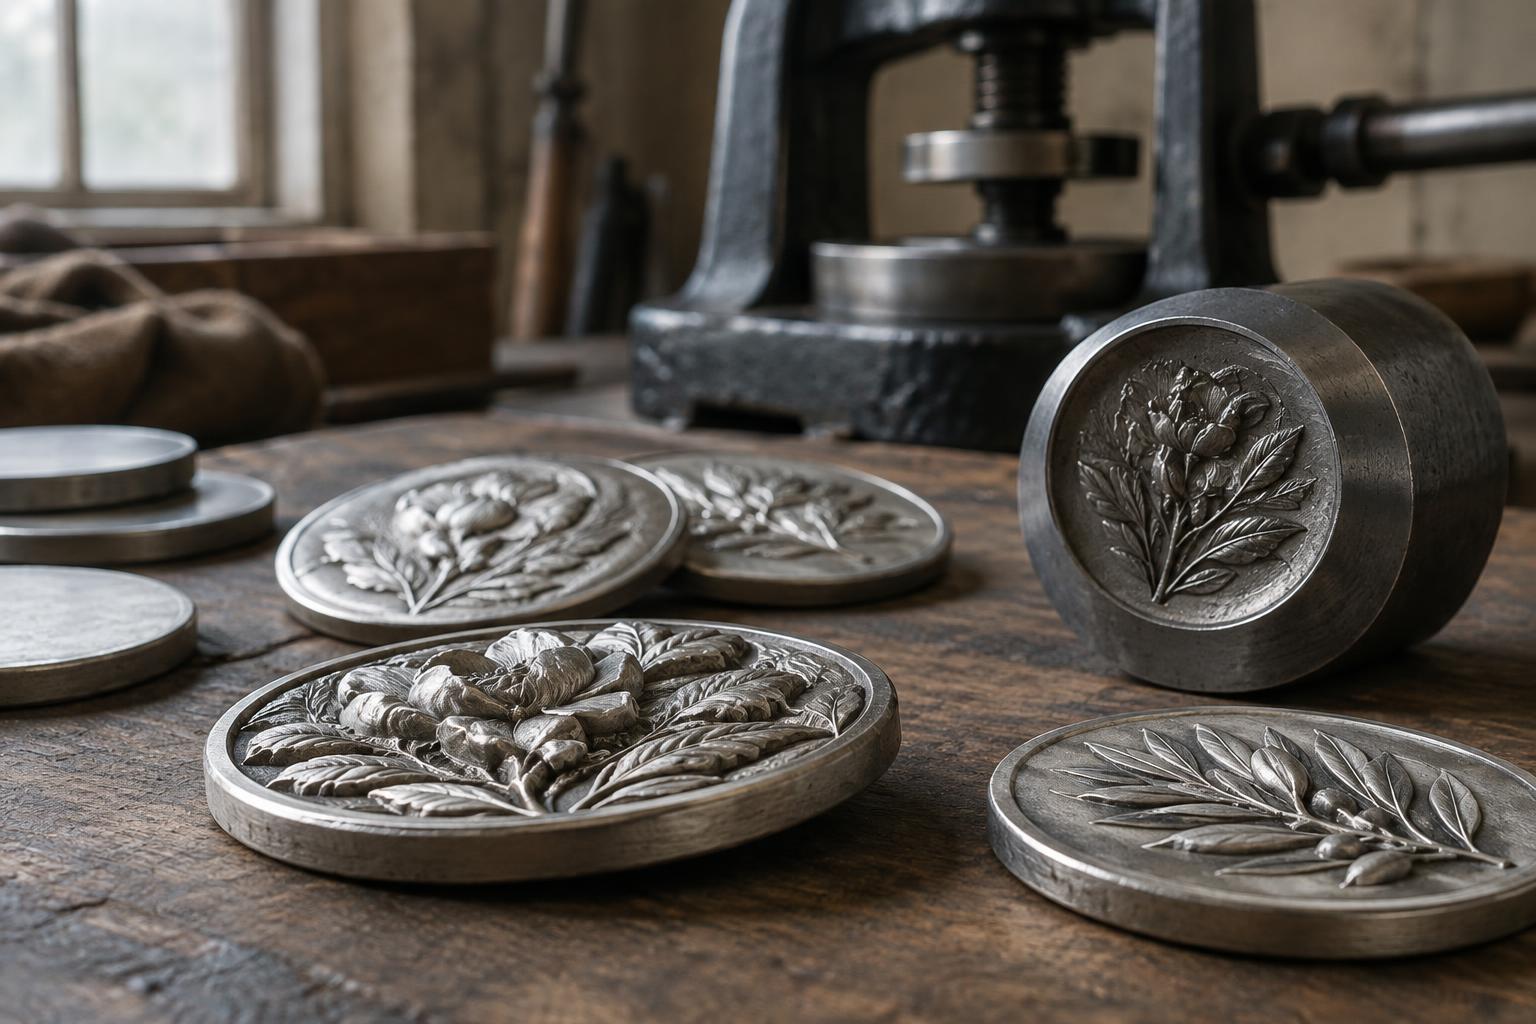
Think of pressing a carved stamp into soft material. Raised parts of the stamp leave recessed marks, while recessed parts allow the material to stand higher. Coin tools follow the same principle. A die bears an incuse, or recessed, version of the coin’s raised design. When the die presses a blank, metal flows into those recesses and forms the relief seen on the coin.
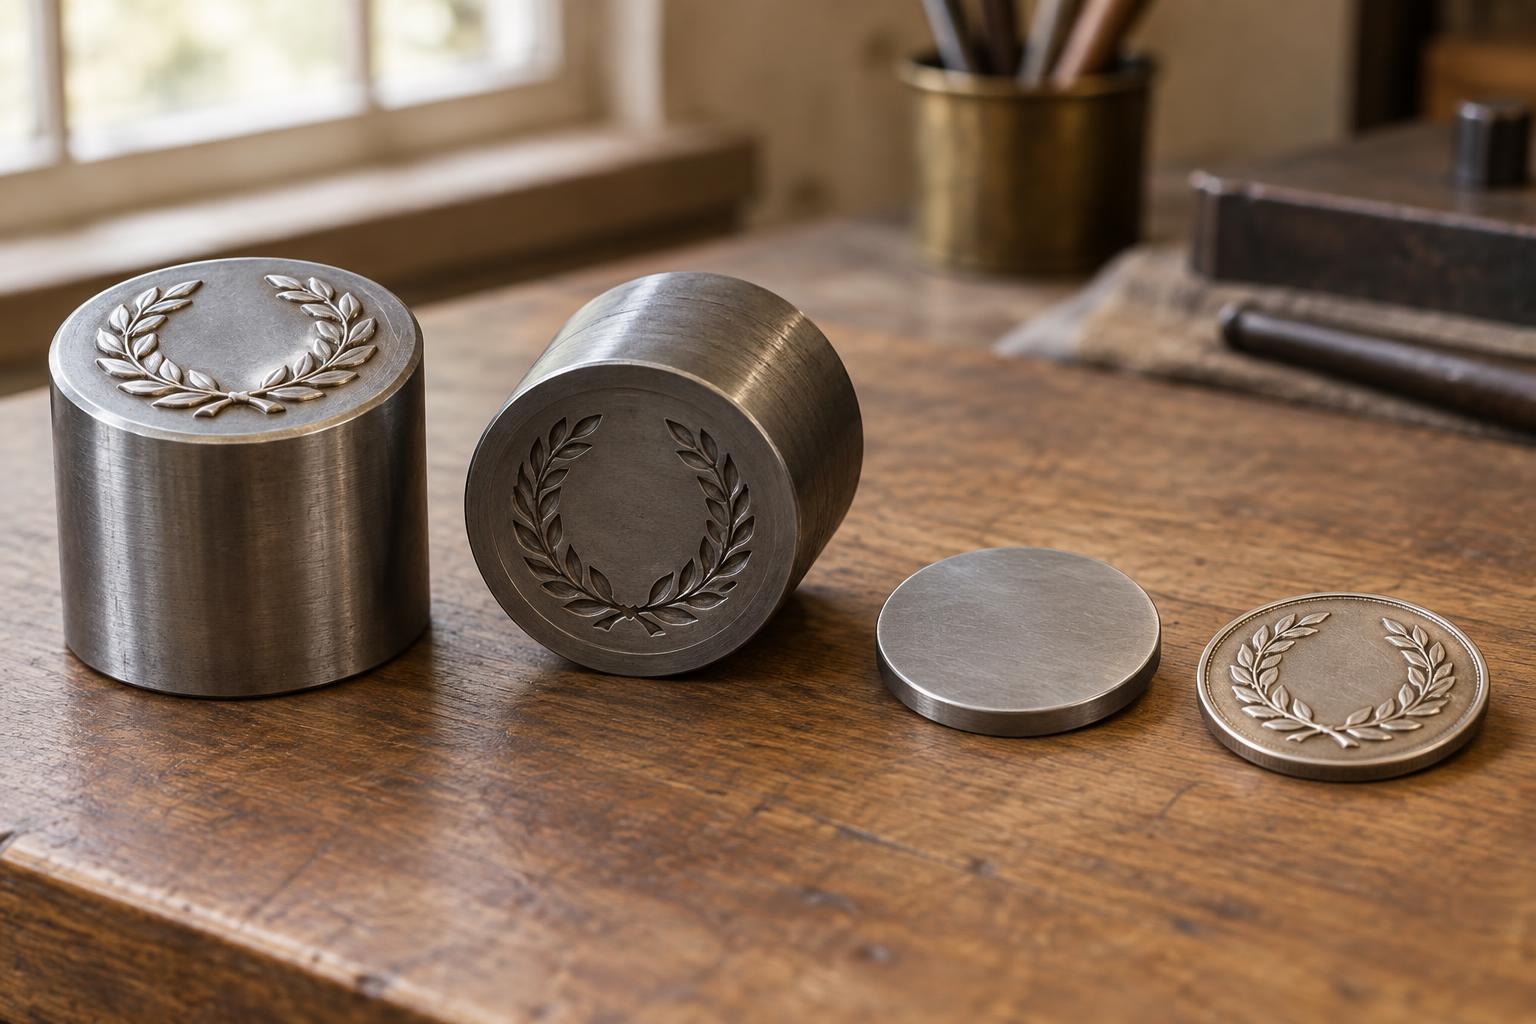
In a traditional sequence, a master hub carries a raised version of the design. It is pressed into a master die, which has the design recessed. The master die can then produce working hubs with raised designs, and those hubs can produce working dies with recessed designs. Each transfer reverses the relief. These stages help a mint make multiple working dies from an approved design rather than creating every striking tool separately.
The names describe each tool’s place in the process, not a different subject on the coin. A working hub for the obverse carries that side’s design in raised form; the resulting working die carries it in recessed form. The reverse has its own tools. Specific production steps can differ by mint, coin and period.
Preparing dies for repeated strikes
Working dies must hold fine detail while striking many blanks. During die making, tool steel may be softened for a design transfer and later hardened for service. Historically, some dies needed more than one hub impression to bring up the full design, with heat treatment between impressions. Other methods can transfer a design in a single impression. These are manufacturing choices, not features a collector can assume from a coin’s appearance alone.
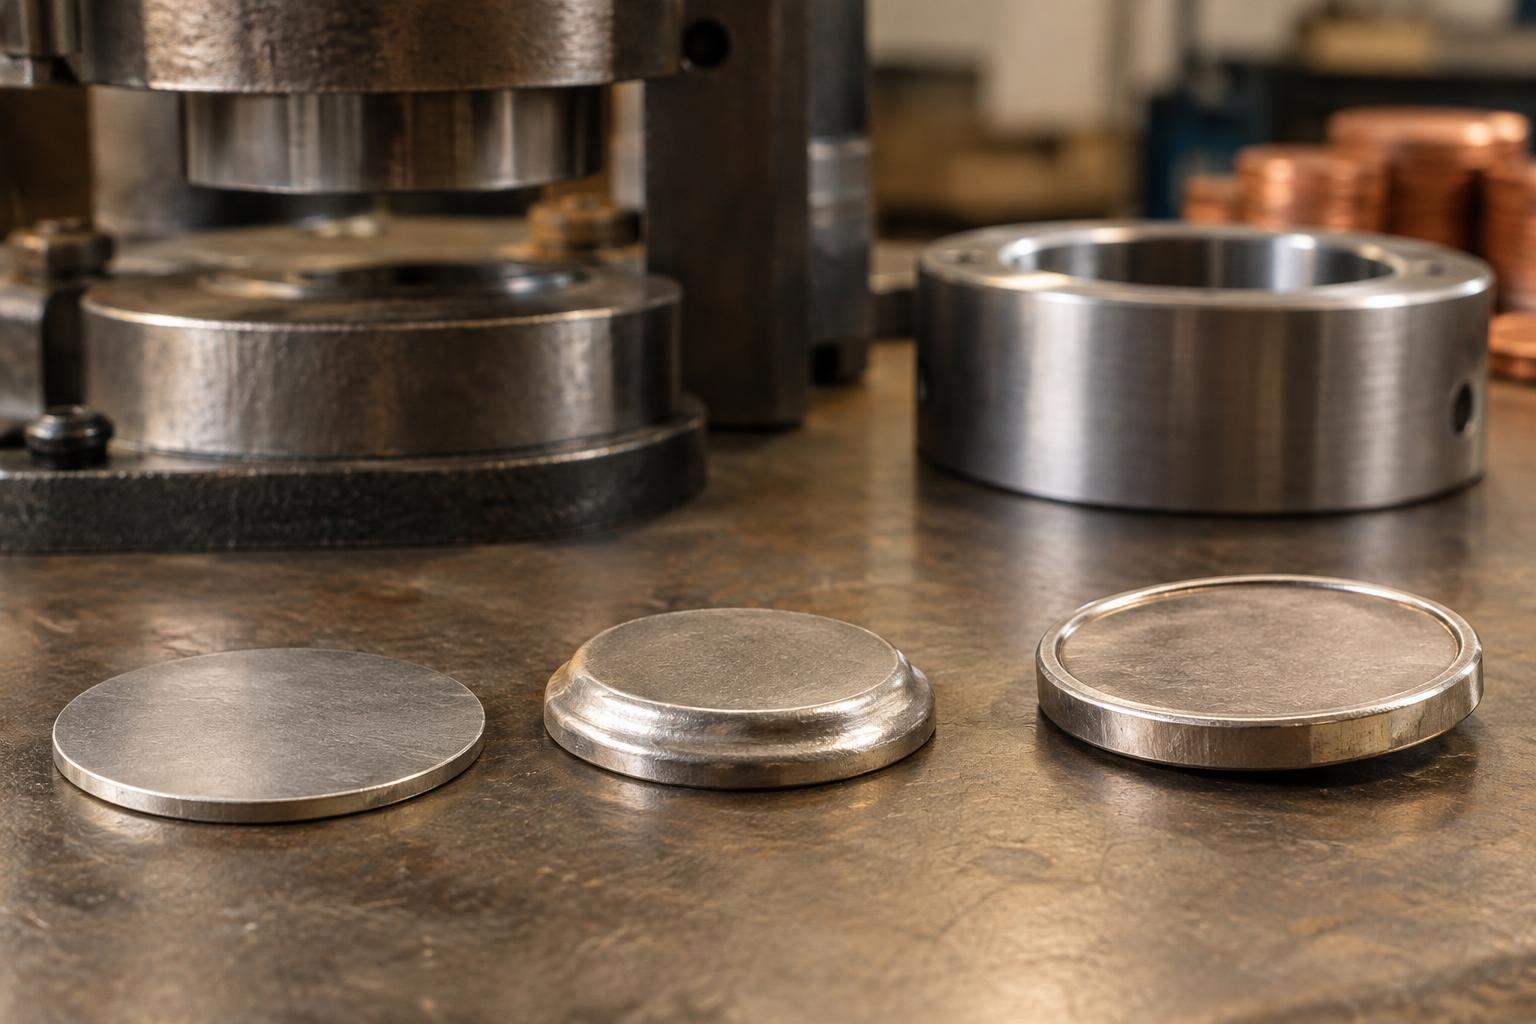
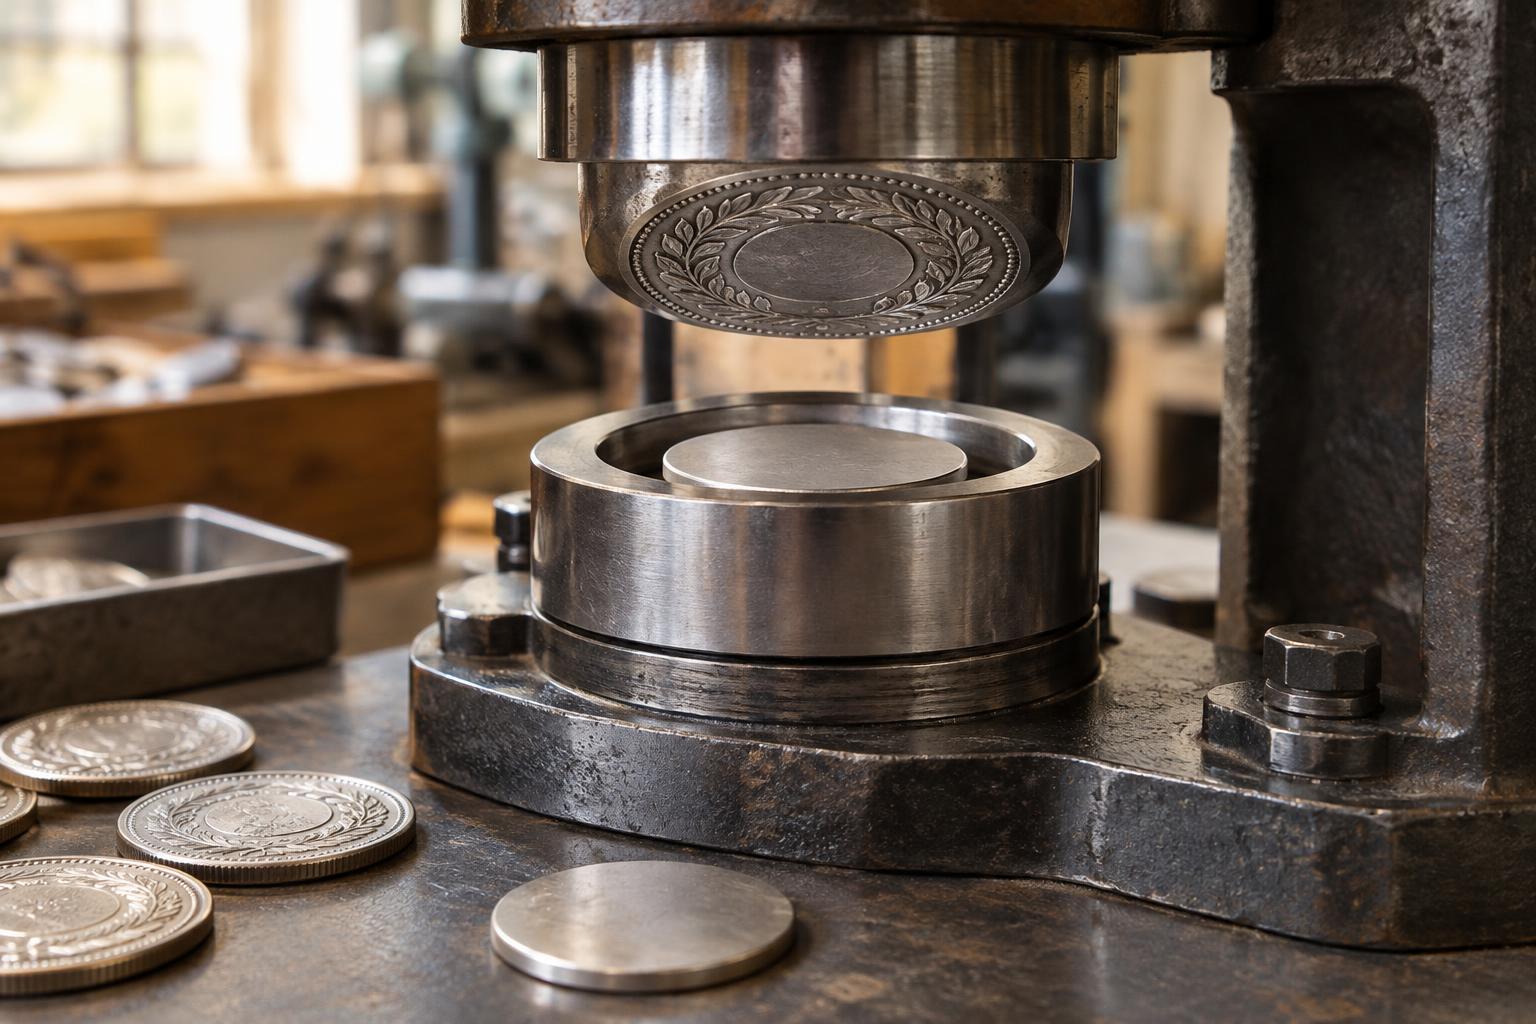
After the design is transferred, a die may receive additional preparation, such as polishing or a particular surface finish. It must also be fitted into the striking press. One working die strikes the obverse and another strikes the reverse. A collar surrounds the blank during striking, helping control its shape and diameter; depending on its design, the collar may also form features such as a reeded edge. Some edge lettering or decoration requires a separate operation.
What collectors can learn from die-made details
Because a working die strikes many coins, a feature on that die can appear on more than one finished piece. As a die wears, fine details may become less distinct. If it develops a crack, metal can flow into the crack during striking and leave a raised line on coins. Polishing a die can also alter small design details or leave fine lines in its field. Such features can help collectors study how a die changed during its working life.
Not every unusual mark comes from a hub or die. A scratch acquired after a coin left the mint is different from a feature transferred during striking. Likewise, a weak-looking detail might reflect the strike, die wear or another cause. Comparing several examples of the same coin and looking at how a mark interacts with the design can be more useful than judging one feature in isolation.
Hubs and dies provide a way to read a coin as a manufactured object. The hub helps reproduce a design; the working die delivers that design to the blank. Understanding the steps between them makes familiar details—raised portraits, flat fields and repeated die marks—easier to explain.