Rim, edge and border: what is the difference?
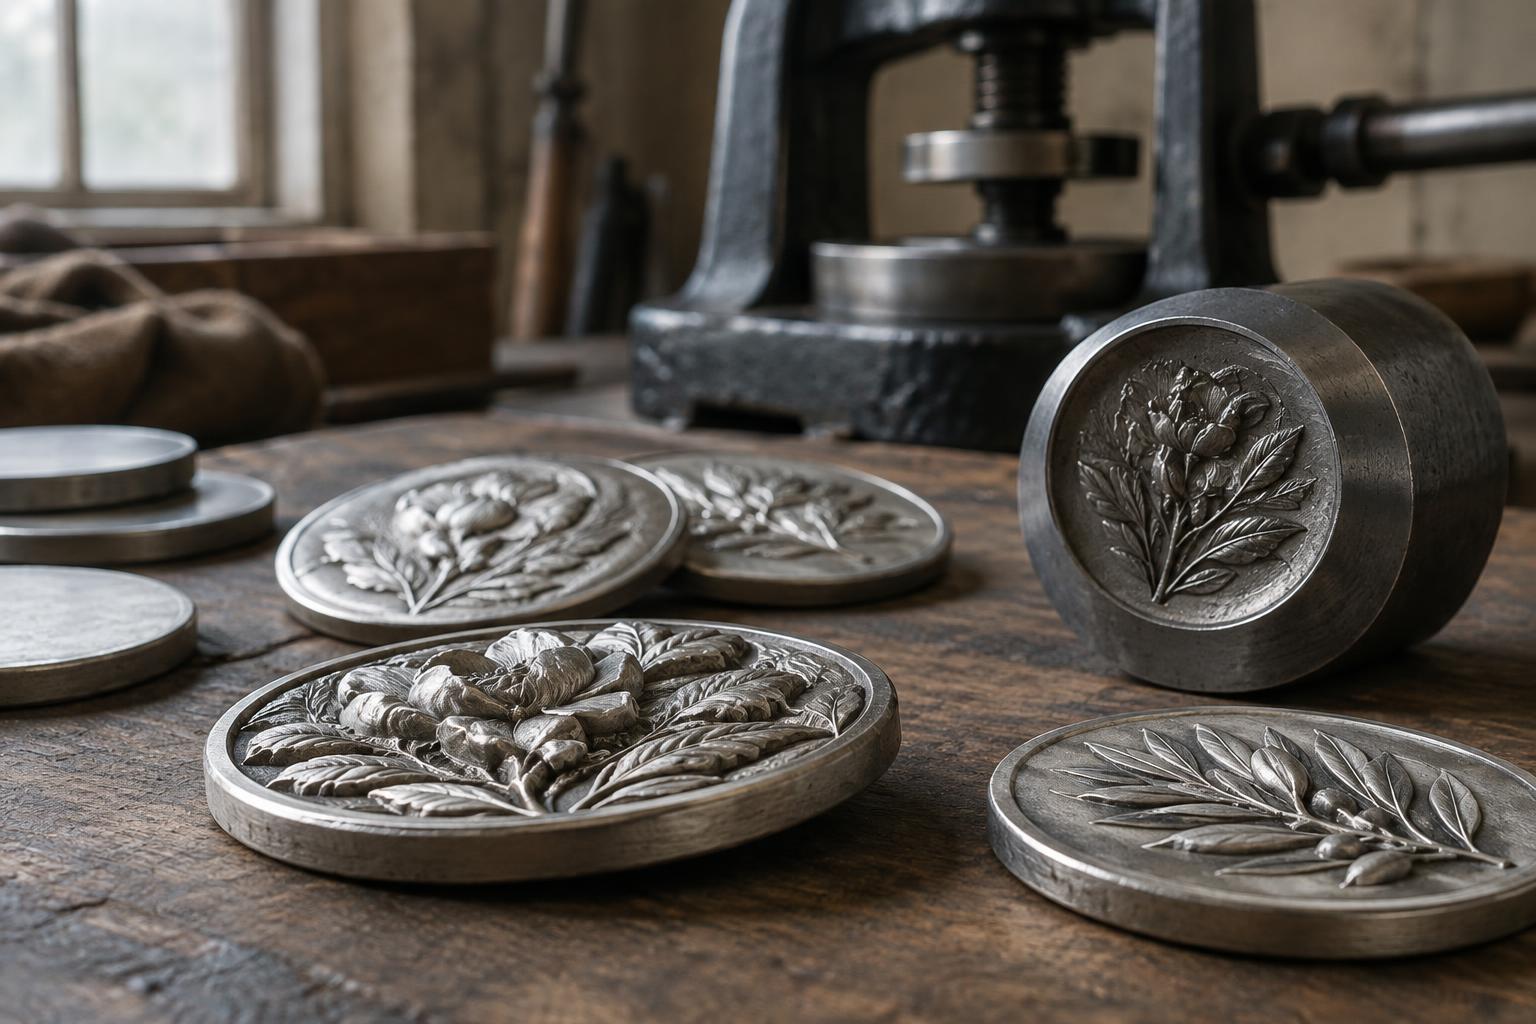
Look at a modern coin face-on, and you may see a narrow raised band near its outer boundary. That band is the rim. The edge is the outside surface you see when you turn the coin sideways. A coin can have a raised rim and a plain edge, or a raised rim and an edge marked with reeds or lettering. The two features meet, but they are not the same part of the coin.
A rim gives the design a defined boundary and can help keep the highest points of the design from rubbing directly against a flat surface. It may also make coins easier to stack and handle. Its exact shape is not universal: mints use different equipment and designs, and some coins have a less prominent rim than others.
The blank is prepared before the strike
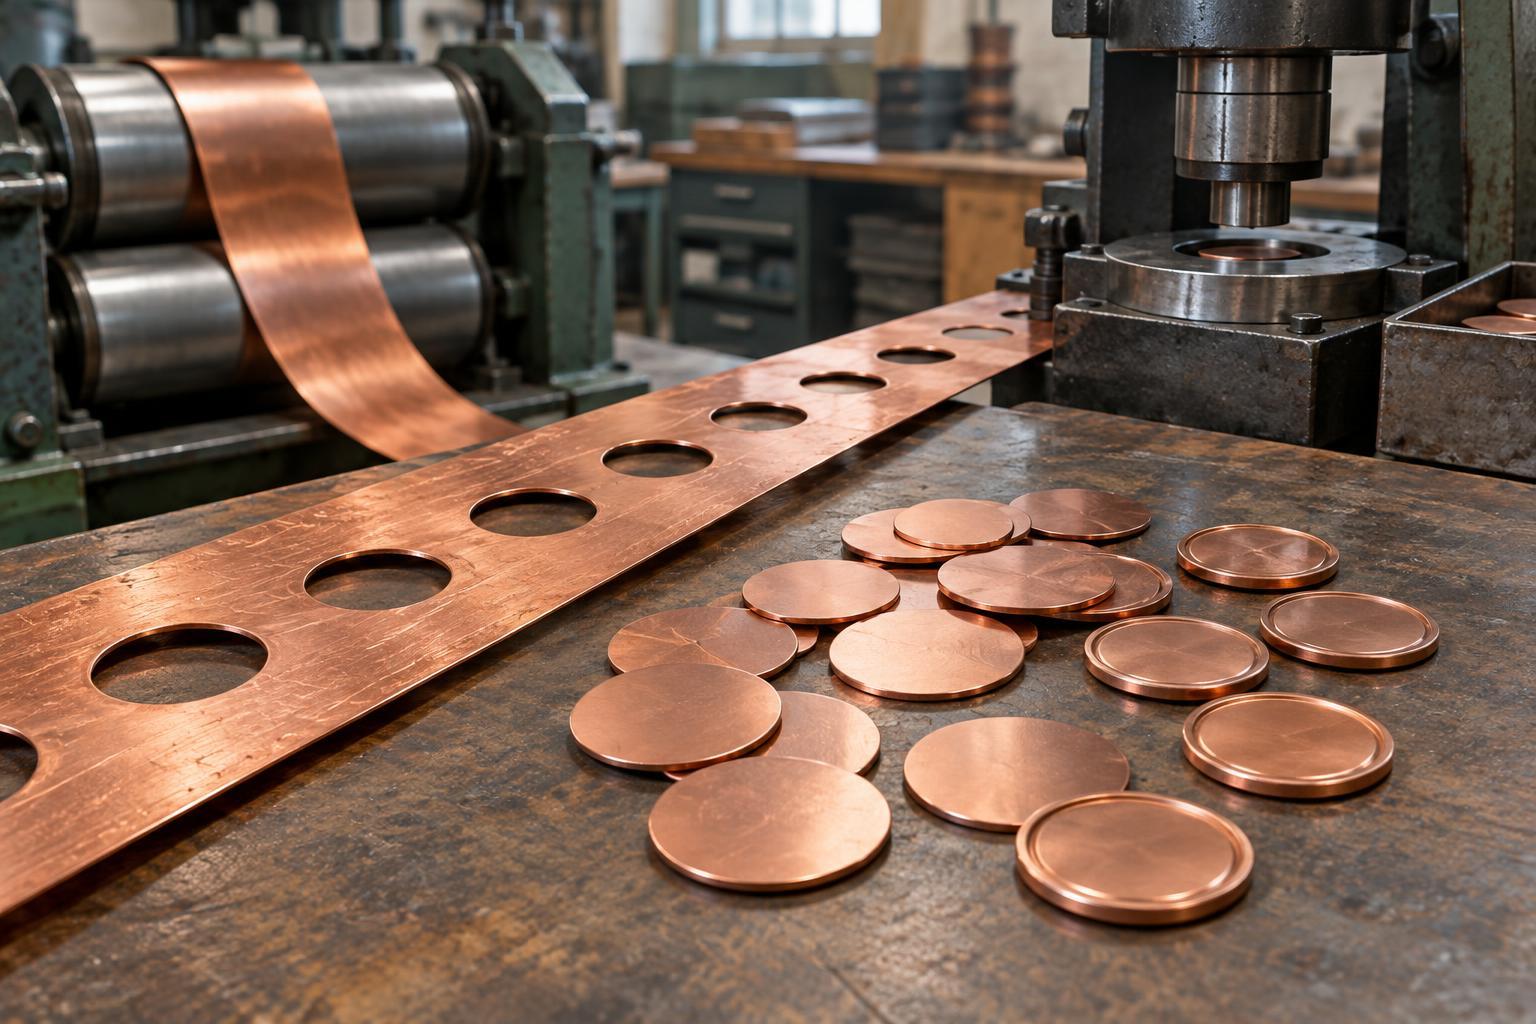
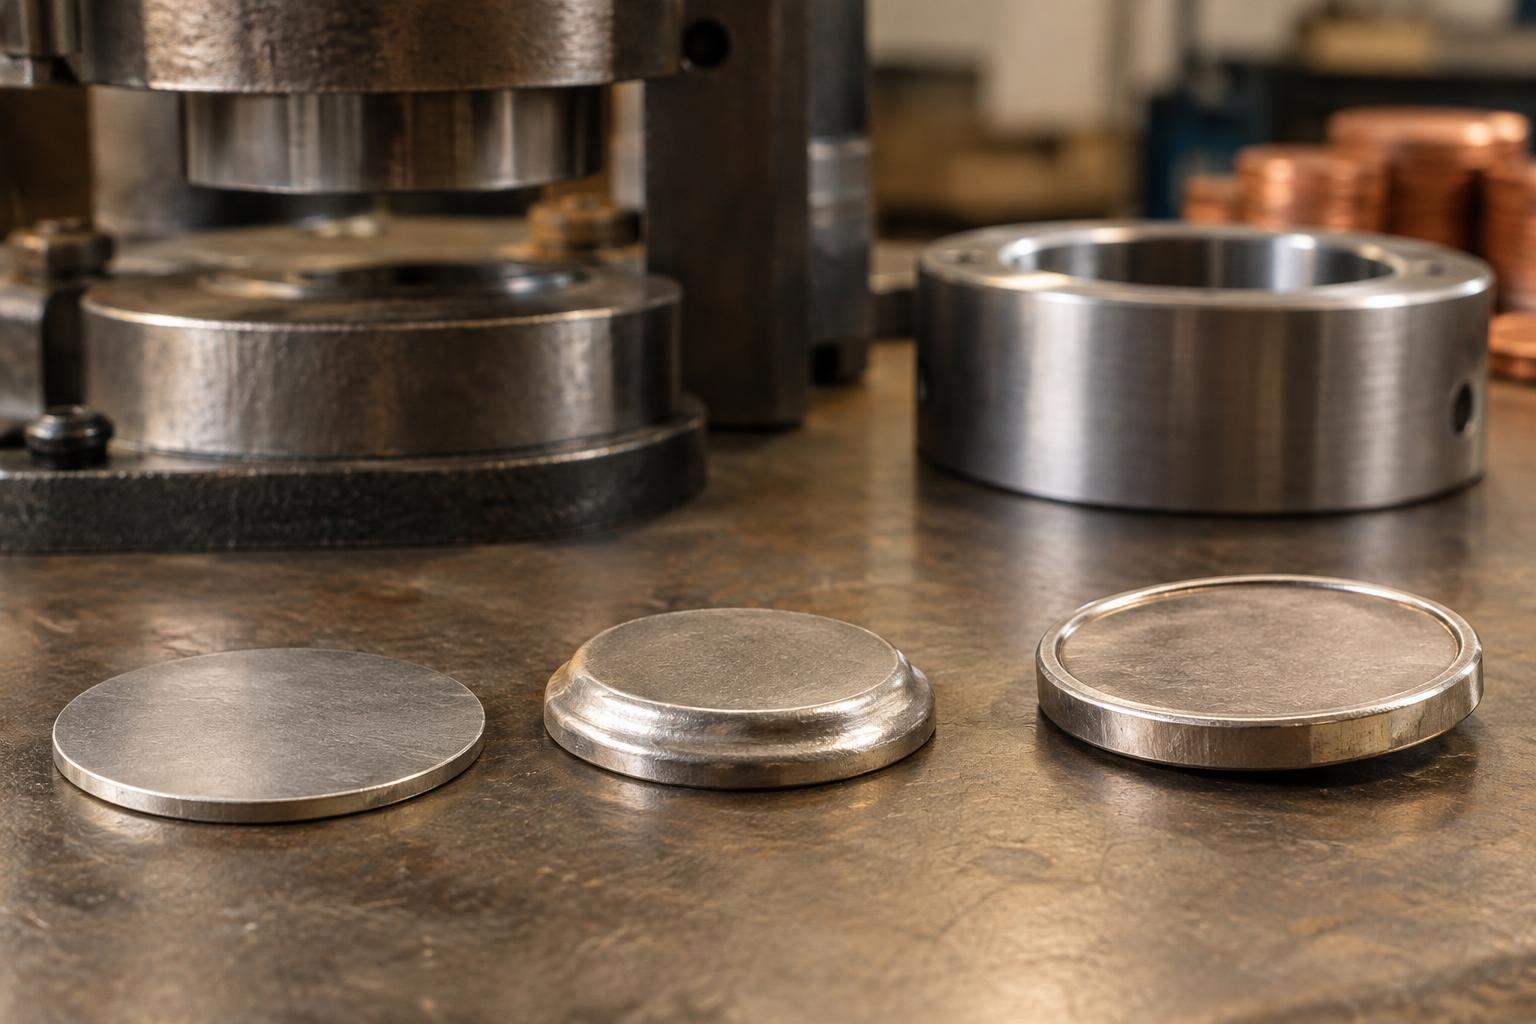
For many modern coins, rim formation starts with a flat metal disk called a blank. After the disk is cut from a strip of metal, it passes through a process called upsetting. An upsetting machine presses and rolls metal near the disk’s outer boundary, moving some of it upward around both faces. The resulting disk, with its preliminary raised border, is commonly called a planchet.
This preliminary border is not yet necessarily the crisp, finished rim visible on a struck coin. Upsetting prepares the metal for the press: it helps establish material around the perimeter that can be shaped further when the design is impressed. It can also make the planchet easier for minting equipment to handle. Not every coin, particularly one made by an older or specialized method, follows this exact sequence.
The press gives the rim its finished form
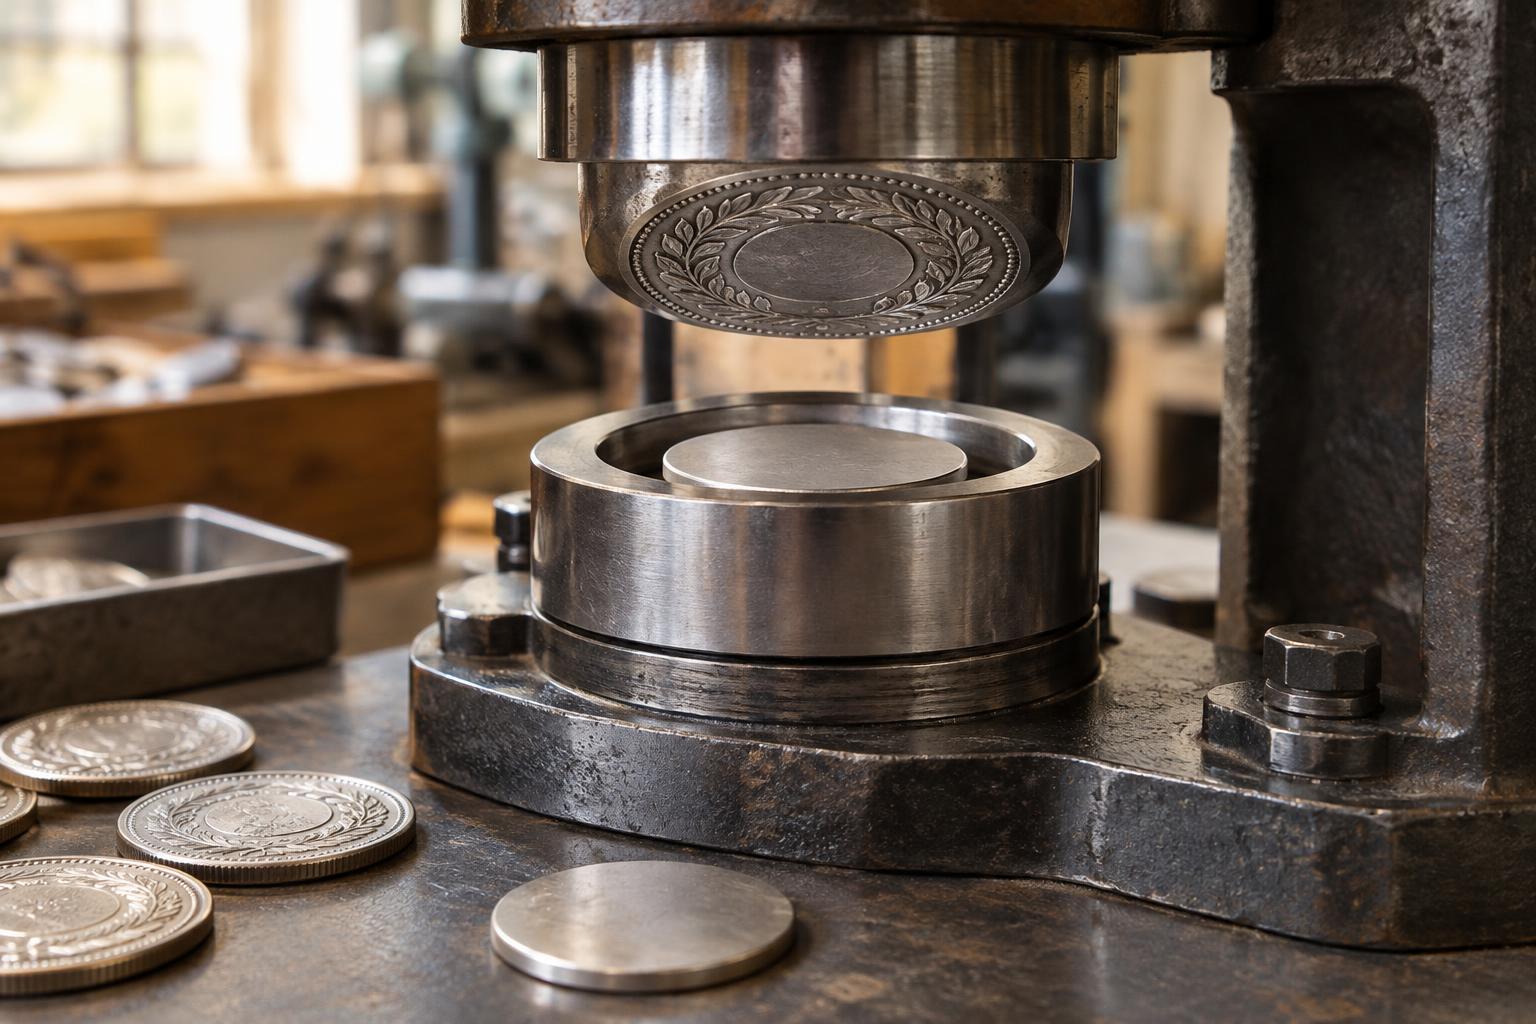
At the striking press, the planchet sits between two dies bearing the designs for its opposite faces. In a common modern setup, it also sits inside a collar, a ring that limits how far the metal can spread outward. When the dies press into the planchet, metal flows into the recessed parts of the dies to form the raised design. Pressure also shapes the prepared border into the coin’s finished rim.
The collar helps establish the coin’s diameter and can shape its edge. A smooth collar can leave a plain edge; a grooved collar can produce reeds. Some coins receive edge markings through a separate operation instead. This is why the raised rim should not be confused with reeding: the rim is on the faces, while reeds run around the edge.
Why do rims look different?
A rim’s width and height depend partly on the coin’s intended design and how its dies and other tooling are made. The amount and movement of metal during striking also matter. A rim may appear uneven if the strike was not centered properly, while incomplete metal flow or worn tooling can affect how sharply features appear. Those possibilities cannot always be distinguished by looking at one photograph or one coin alone.
Circulation adds another complication. Because the rim projects above much of the nearby surface, it can pick up dents, flattening and wear from contact with other objects. A weak-looking section therefore does not automatically indicate a minting error. Comparing several coins of the same type and examining both faces and the edge can help a beginner separate ordinary design features, wear and possible production differences.
A simple way to examine a coin’s rim
Start by viewing the coin face-on under steady light. Follow the rim all the way around each face, noting whether its height and width seem consistent. Then turn the coin sideways to inspect the edge separately. Look for a clear transition between the rim and the central design, but remember that some designs use a subtle border or place lettering close to it.
Handle a collectible coin by its edge over a soft surface, and avoid cleaning it to make the rim easier to see. Cleaning can change the surface without revealing how the coin was made. Once you know that upsetting establishes a preliminary border and the strike helps finish it, the rim becomes more than a protective-looking ring: it is a visible clue to several steps in the minting process.